A personal altitude record, a Meshtastic long distance packet record, and a bloody-shinned tree recovery made for an eventful day.
The flight was part of a group launch at GPSL hosted in Pella, Iowa with the group mass launch on June 20th which comes with a luxury: I didn’t have to find a lifting gas supplier!
Leadup
The biggest challenge with this flight is that we travelled to Cape Canaveral a month before the road trip to Iowa, so every quirky little flight part you can think of had to either be brought with on the trip to Florida first – or ordered online while I was down there. I packed my three payloads, some radios, lots of launching gear but forgot a few key pieces. While in Florida I was able to buy:
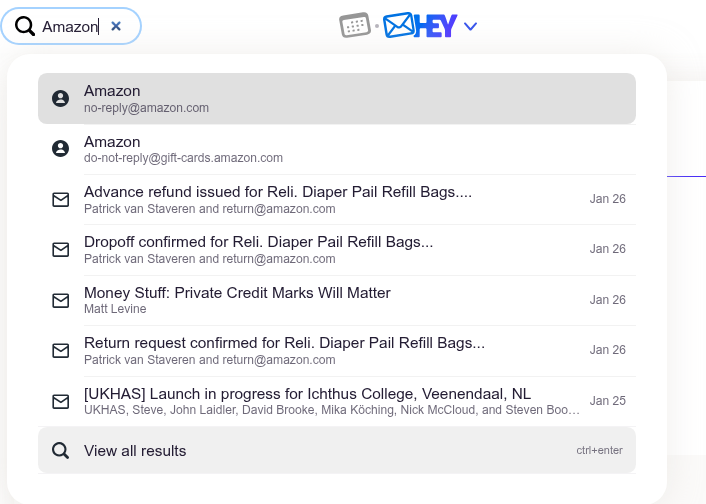
- More 3x AA battery holders (thank you Amazon for making these easily available). I use these ones with lids to mitigate batteries popping out of the box.
- Kaymont 1000g balloon – who knew Kaymont’s distribution facility is in driving distance of the Cape? I got to go pick it up in person!
- Spherachutes 30″ ultralight chute (they ship quick even with customizable colors!)
- More RTL-SDRs – turns out my primary one I left at home, and my backup SDR is entirely dead. Easy to acquire more Nooelec SMArt radios on Amazon.
I assembled everything in the weeks leading up to flight, prepared a DFM17 radiosonde which I think I flew on Flight 7 last year with SSHC, and tested it all out.
For this flight I used the exceptional K5RWK Balloonatics ground_station configuration, which runs a ka9q-radio server and tons (yes tons) of horus binary and wenet decoders as well as a UHF APRS decoder with direwolf attached to the ka9q-radio. In the past for multi-stream flights I’ve used home brew variants of CLI scripts to “tee” various bits of a passband to different decoders and this has worked well enough despite being a bit of work to set up let alone share with anyone else. The Balloonatics version makes it so much more modular. Using docker also means that you can define decoders on the fly during testing to try things. This is not for everyone but as a regular docker user, this is incredible. I expect to use this pattern more in the future.
Payloads
I had three payloads in hand – but only two flew:
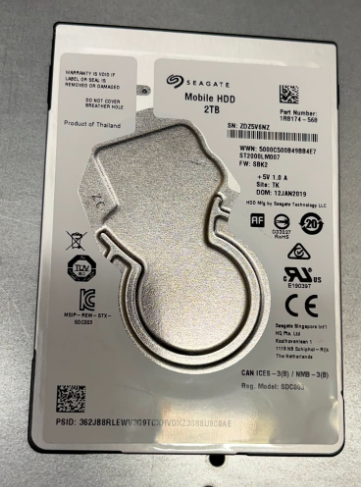
- DFM17 radiosonde running RS41ng broadcasting Horus Binary v2 on 432.900 MHz. The venerable reused radiosonde never fails me.
- Meshtastic on a Raspberry Pi using Portduino and a Pi hat. I’ve flown this hardware before successfully but with incomplete results, so it’s good to fly it again!
Unfortunately I had a third payload prepared which did not fly:
- Wenet v2 – upgraded in-place from what I flew last year from v1 to v2. It was working perfectly but somewhere in the 1300 miles of driving from Florida to Iowa the Pi camera cable cracked and the payload rendered useless. My spare cables? Back at home.
Launch
Arrival at launch site 7AM with a target mass liftoff of 8 AM which turned out to be more like 8:20.
Due to the Wenet payload mishap which kept me up past midnight, I was walking around the launch site at 7 am asking if anyone had a Raspberry Pi camera cable. Unsurprisingly, no one had one handy, and everyone was busy preparing their own payloads! There was stuff happening everywhere, and even my own kids were distracted watching others string up payloads and inflate their balloons.
Since several of us were running the same shared balloonatics ground station configuration, the moment I turned on my 4FSK payload it had 5 receivers uploading to Sondehub.
I prepped payloads which was pretty straightforward, but I still need to get my payload-stringing-switching-things-on routine down a bit better. But once I strung it all up, I was ready to inflate. Since I was flying hydrogen for the first time, I needed to borrow a regulator/inflator which the K5RWK team loaned me their spare (thanks team!)
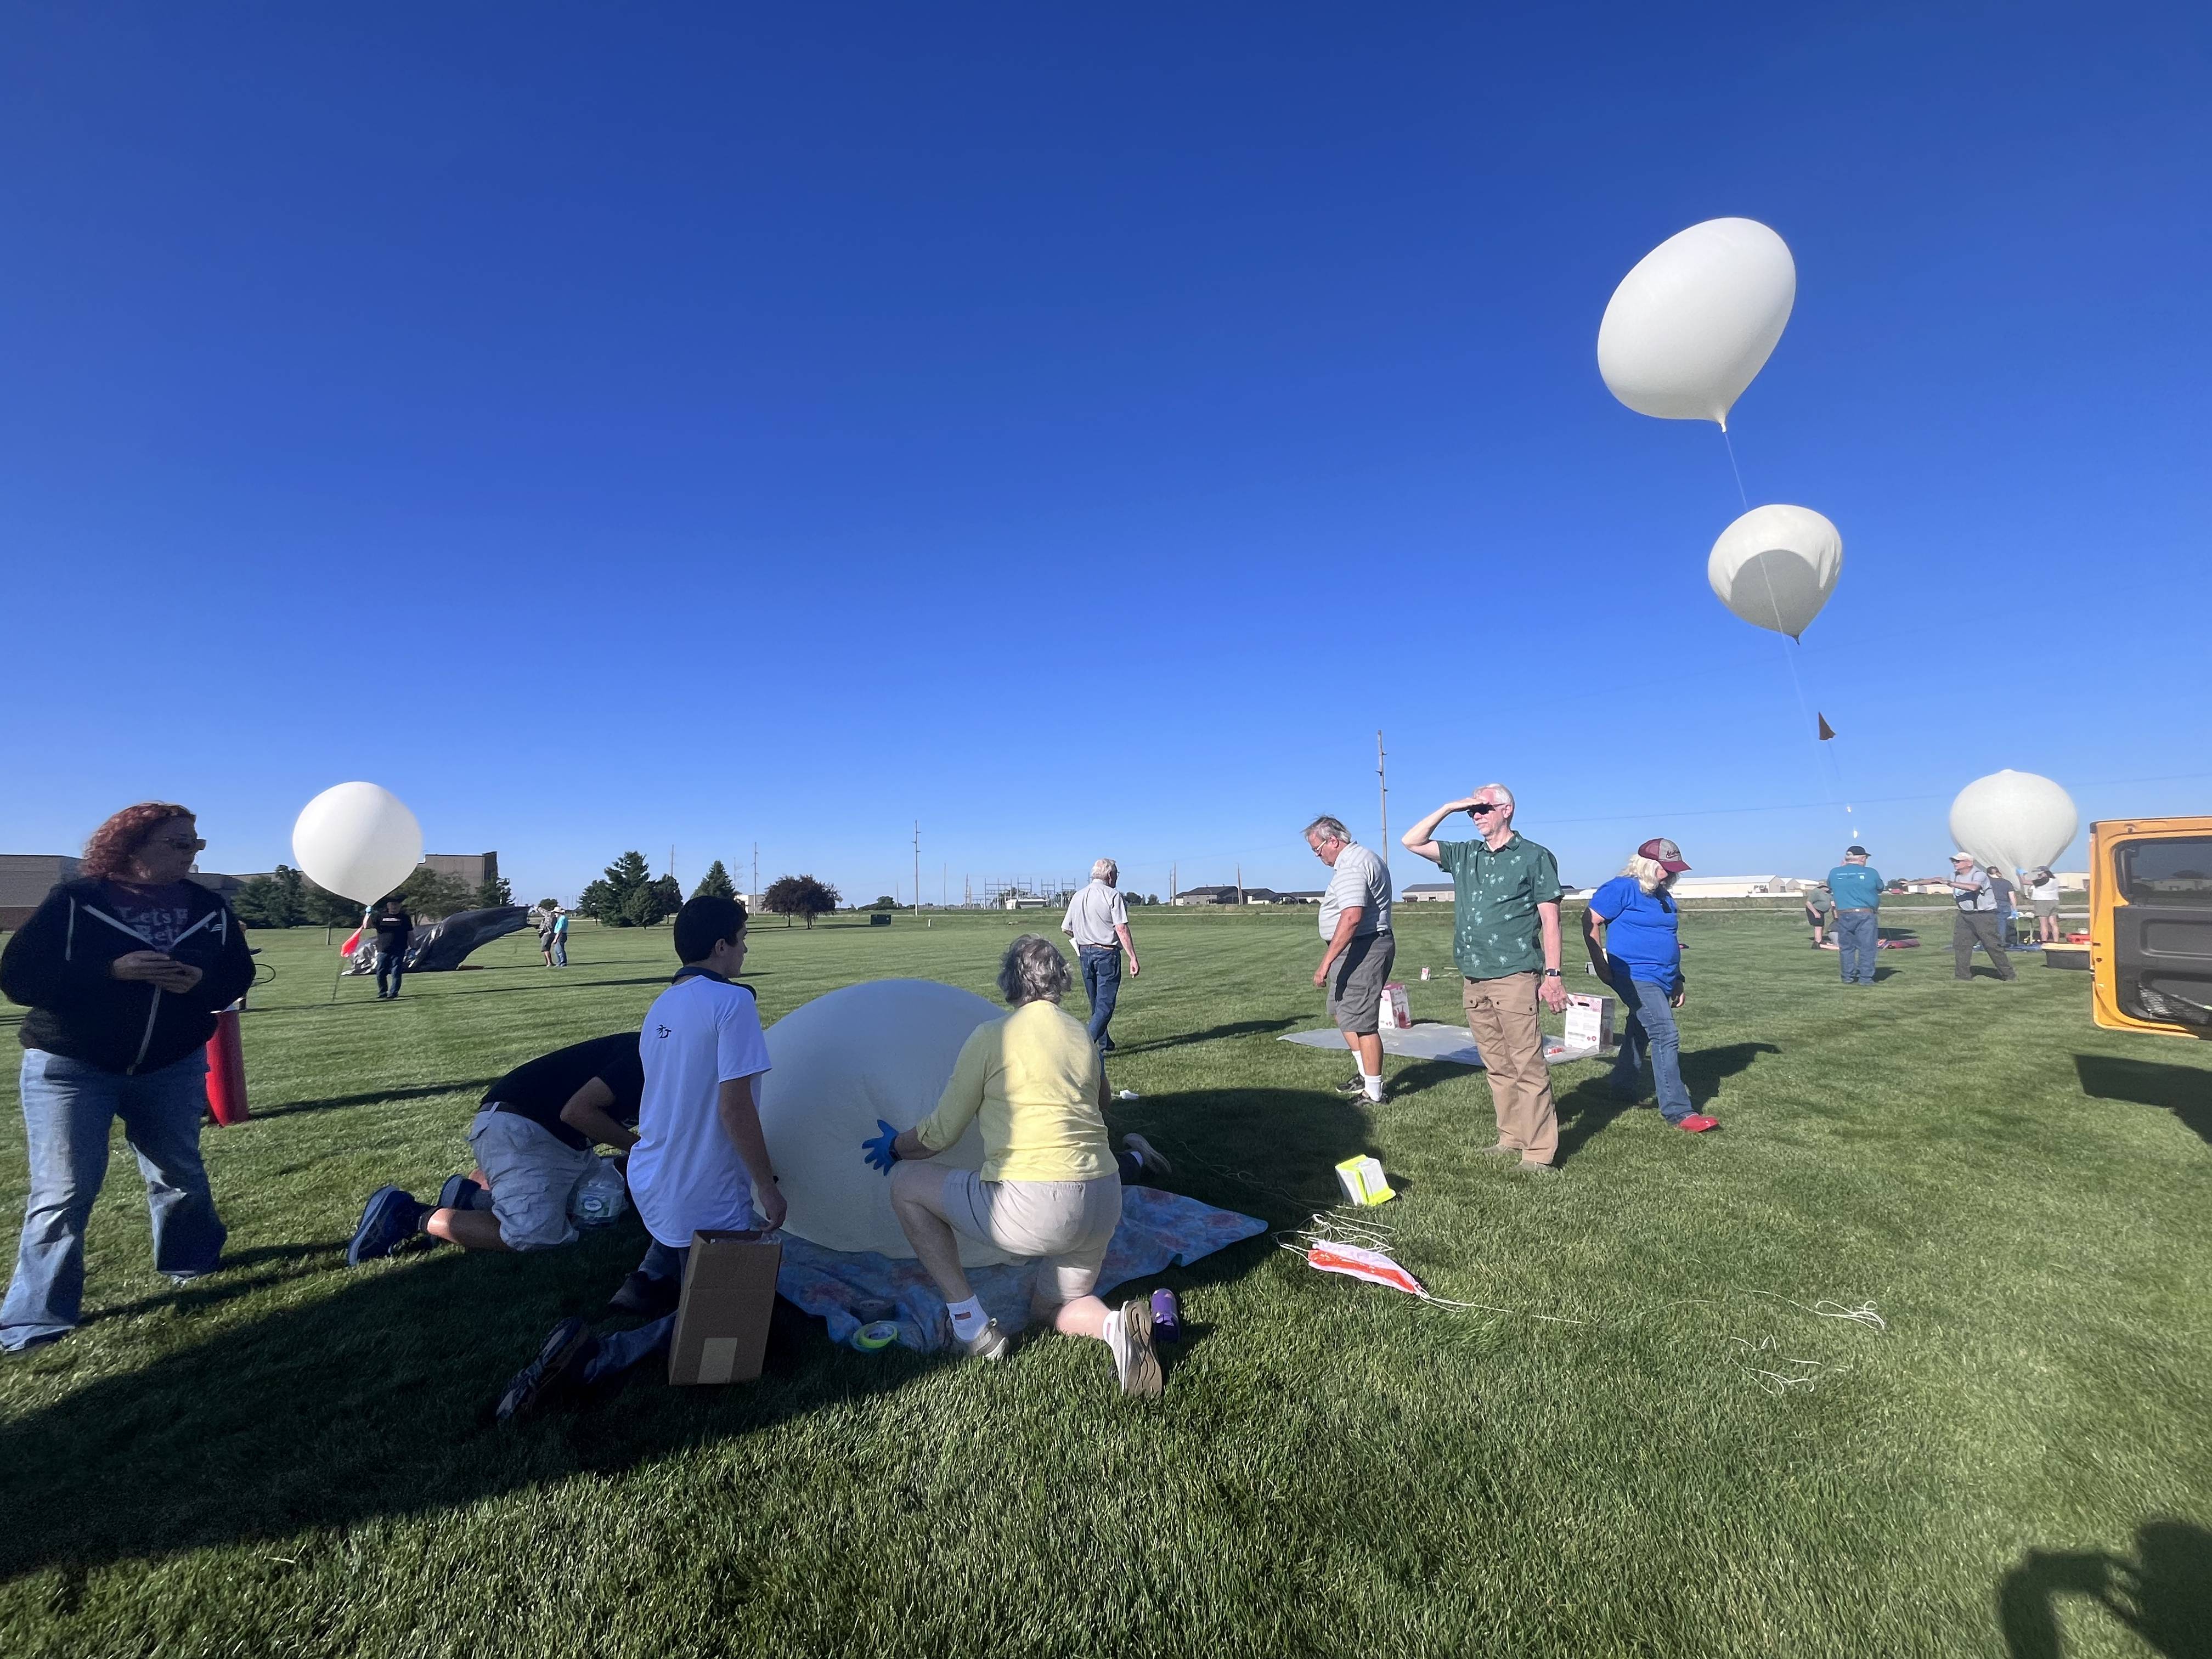
I missed the group launch by about 5 minutes which given my usual delays at launch sites seems like I was practically early!

Flight
Flight was nice though I was worried about the ascent rate being a bit low. The drive to the projected landing area was about 80 minutes; I picked a waypoint in Fairfield. We sat watching the balloon rise over 30km, and looked up, and saw plain as day our balloon not far from KE5GDB’s, one of the fellow GPSL balloons! This balloon did have it’s Wenet payload downlinking images and we got this photo of our balloon:
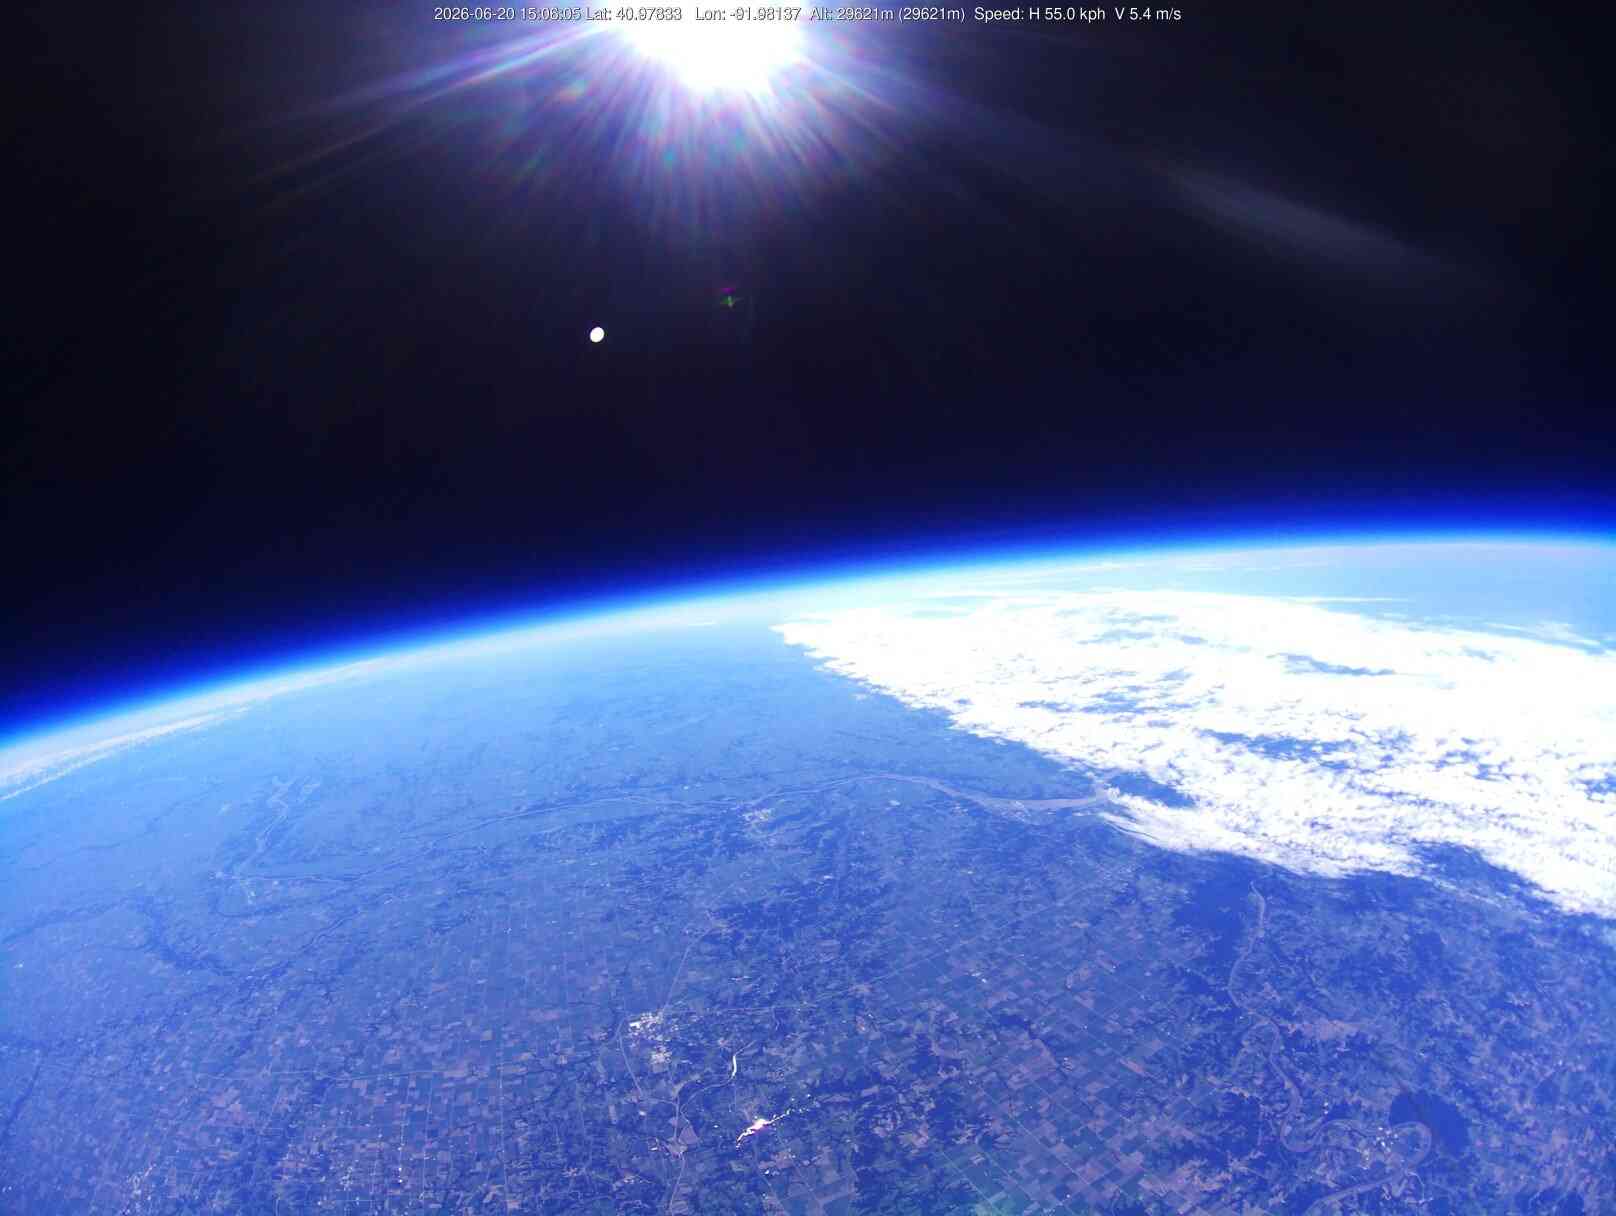
We were able to see, from the ground, the two balloons flying next to each other, and watched until our balloon burst over 35km.
KE5GDB has a video of our balloon bursting from their Insta360 which I’ll post here when I get a hand on it.
Landing
The balloon’s initial descent was fast and the projected landing spot (on Sondehub and on Chasemapper) kept moving a lot more than expected as the balloon was coming down faster than projected. Good news, it was closer and less driving – which with three kids that all need to go to the bathroom, and are anxious about balloon recoveries, is a good thing.
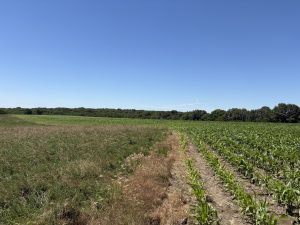
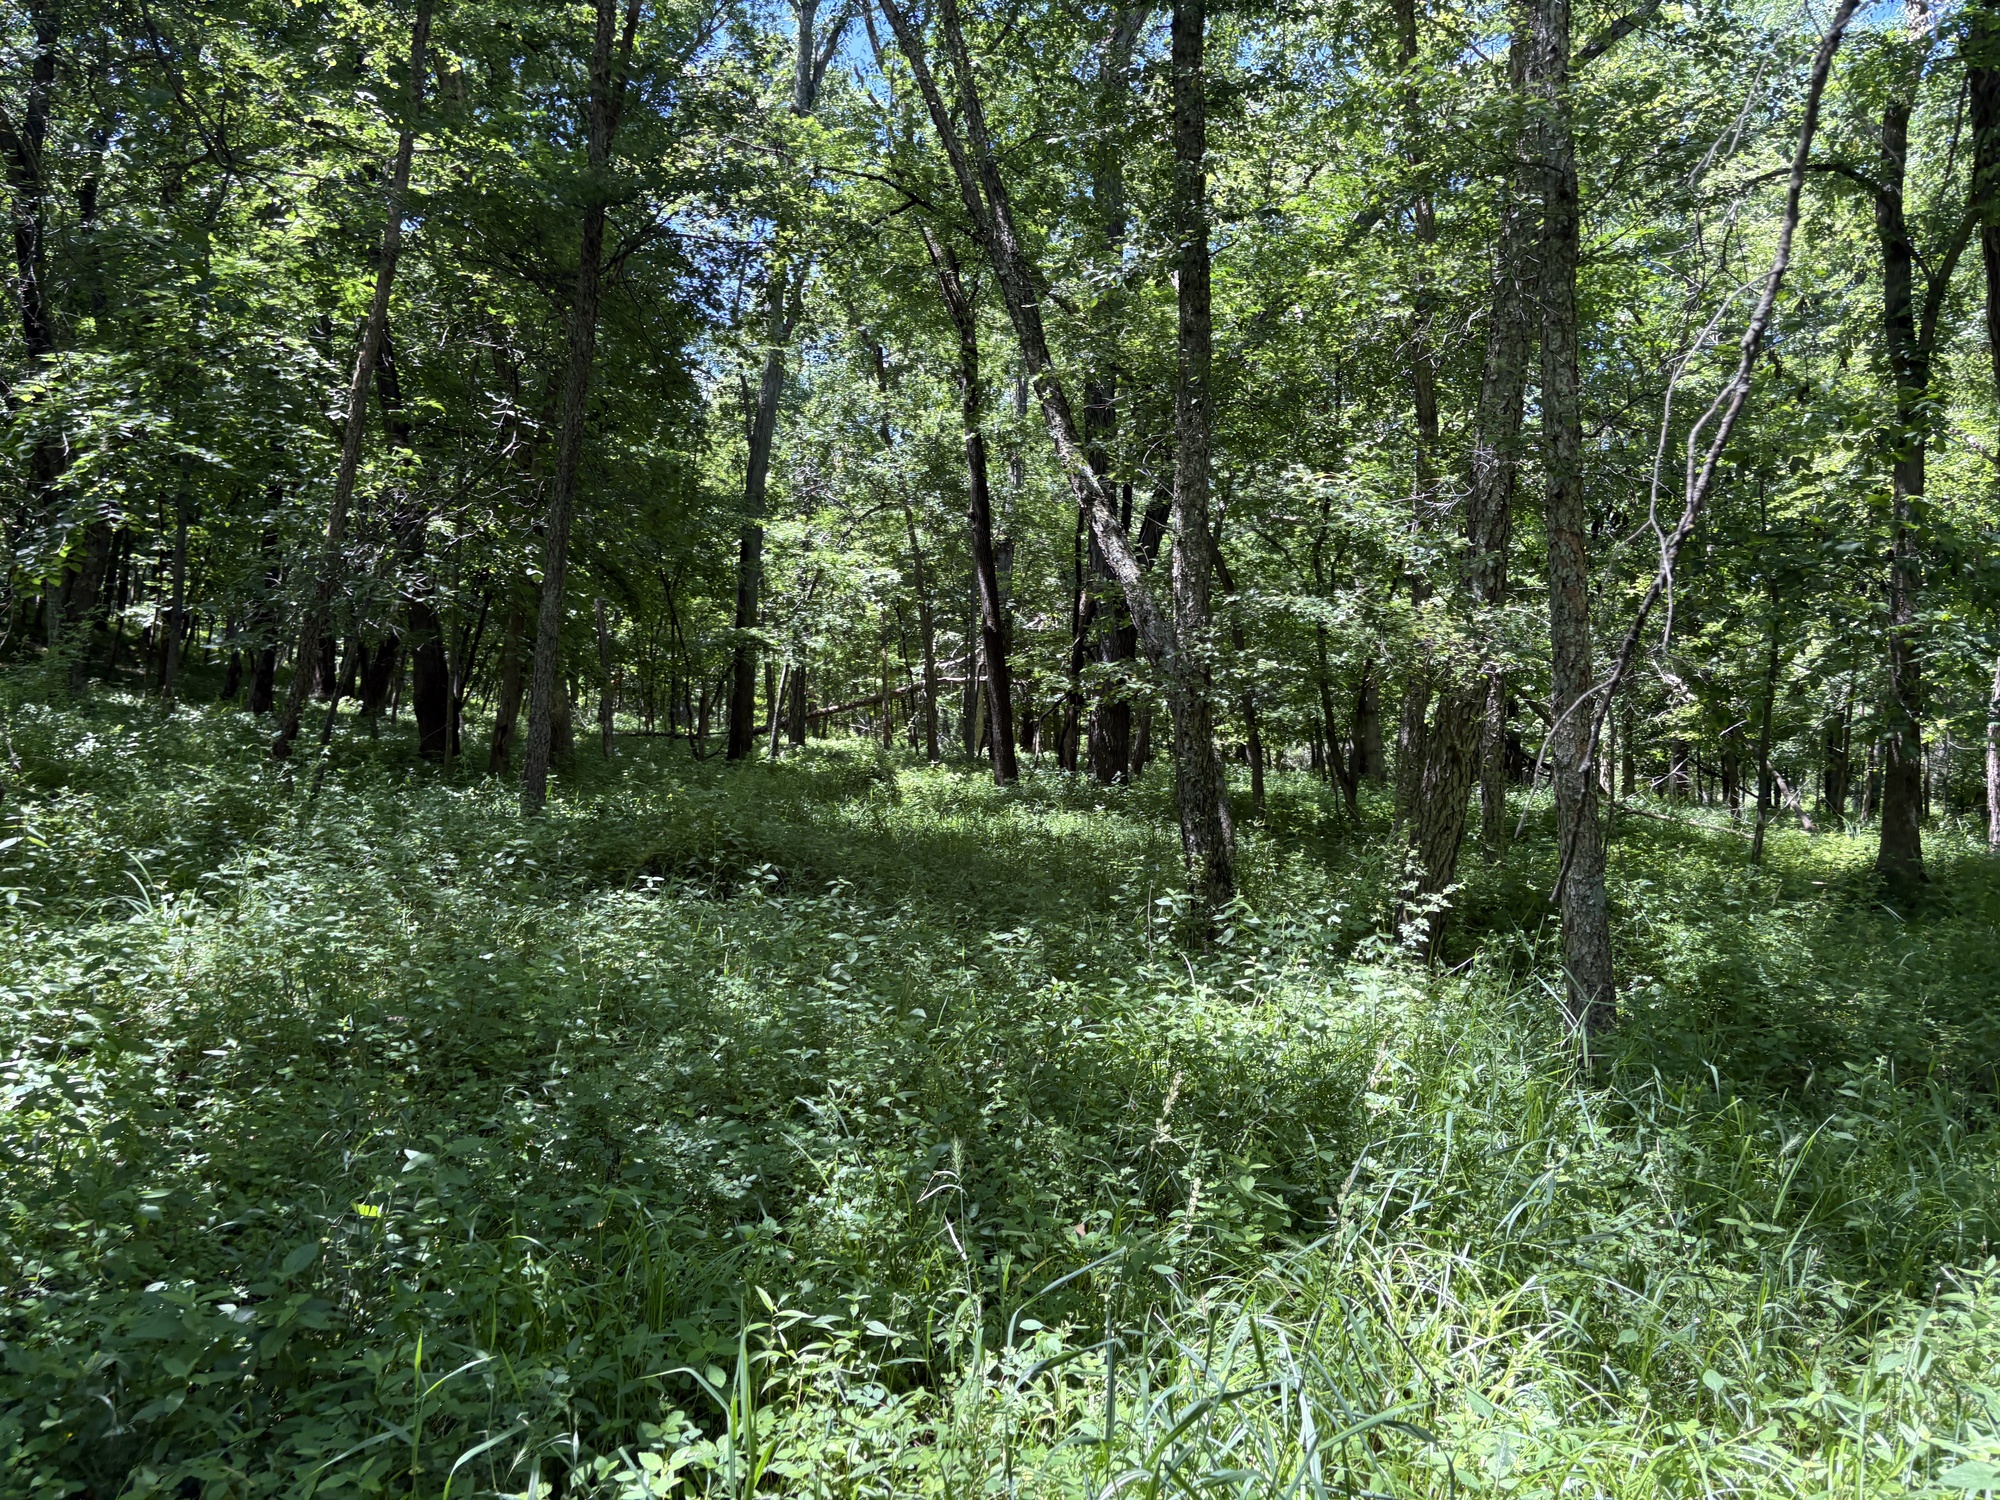
The Balloon-Trees-Water-Magnetism principle proved true; in a land of corn fields we found both trees and water in our landing site – not to mention about as far away as possible from any road:


Randy KJ0RE and Zack W0ZC and the whole Project Traveler team happened to be not far behind ready to support since not only was I chasing a balloon but also driving a car with three kids that were definitely not going for a romp in the woods.
Recovery
As I sat at a gas station managing kids and talking to Zack, Randy charged ahead, spoke with a local land owner, got permission to go for a walk, and off he went – shortly later calling me on my mobile telling me where to find his truck and walk from. I hitched a ride to the landing site, leaving the kids to sit this one out.

blue is where we parked; yellow is walking path; green marker is landing site
Armed with my HT, a bottle of water, shorts (foolish), and some tools from Zack for fetching payloads out of trees I hiked out to the landing spot.
First through corn fields:
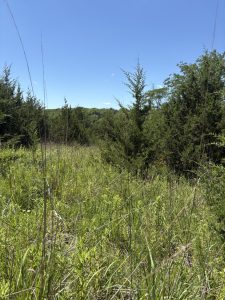
Then through knee-high brush with patches of thorn bushes and downed trees:
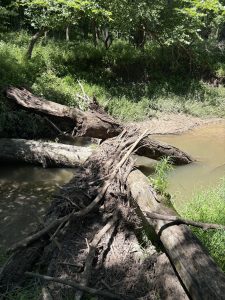
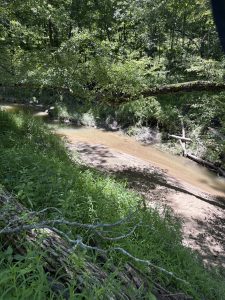
Eventually across the adorably named Little Lick Creek:
Finally arrived at the wooded landing area covered in ticks and with bloody shins.
the landing site was ’round here…see it yet?
It was nearly a mile of a walk which took me at least 30 minutes. As expected the payloads were not easily found, but first and foremost, I had to find Randy! He was using his HT to listen to the payload and try radio direction finding to get him closer to the site but he was nowhere to be found – even if I yelled, he didn’t seem to hear me. Where on earth was he?
Luckily we both had cell phone service, and my call went through – only to learn that Randy had gone to the last known position for the experimental Meshtastic payload (red marker on the map), which sends imprecise position packets. A computer stupidity had sent my comrade in the wrong direction! Its final position packet (red marker in the map above) was 120m away from the position of the DFM17 transmitter (green marker) whose GPS and position packets I trust much more. I’m glad we had the creek for relative positioning as this helped us figure out where each other were. Once we got together, a bit of wandering around, then reality sunk in: where the heck was this thing? It was certainly in the trees, but where exactly to look?
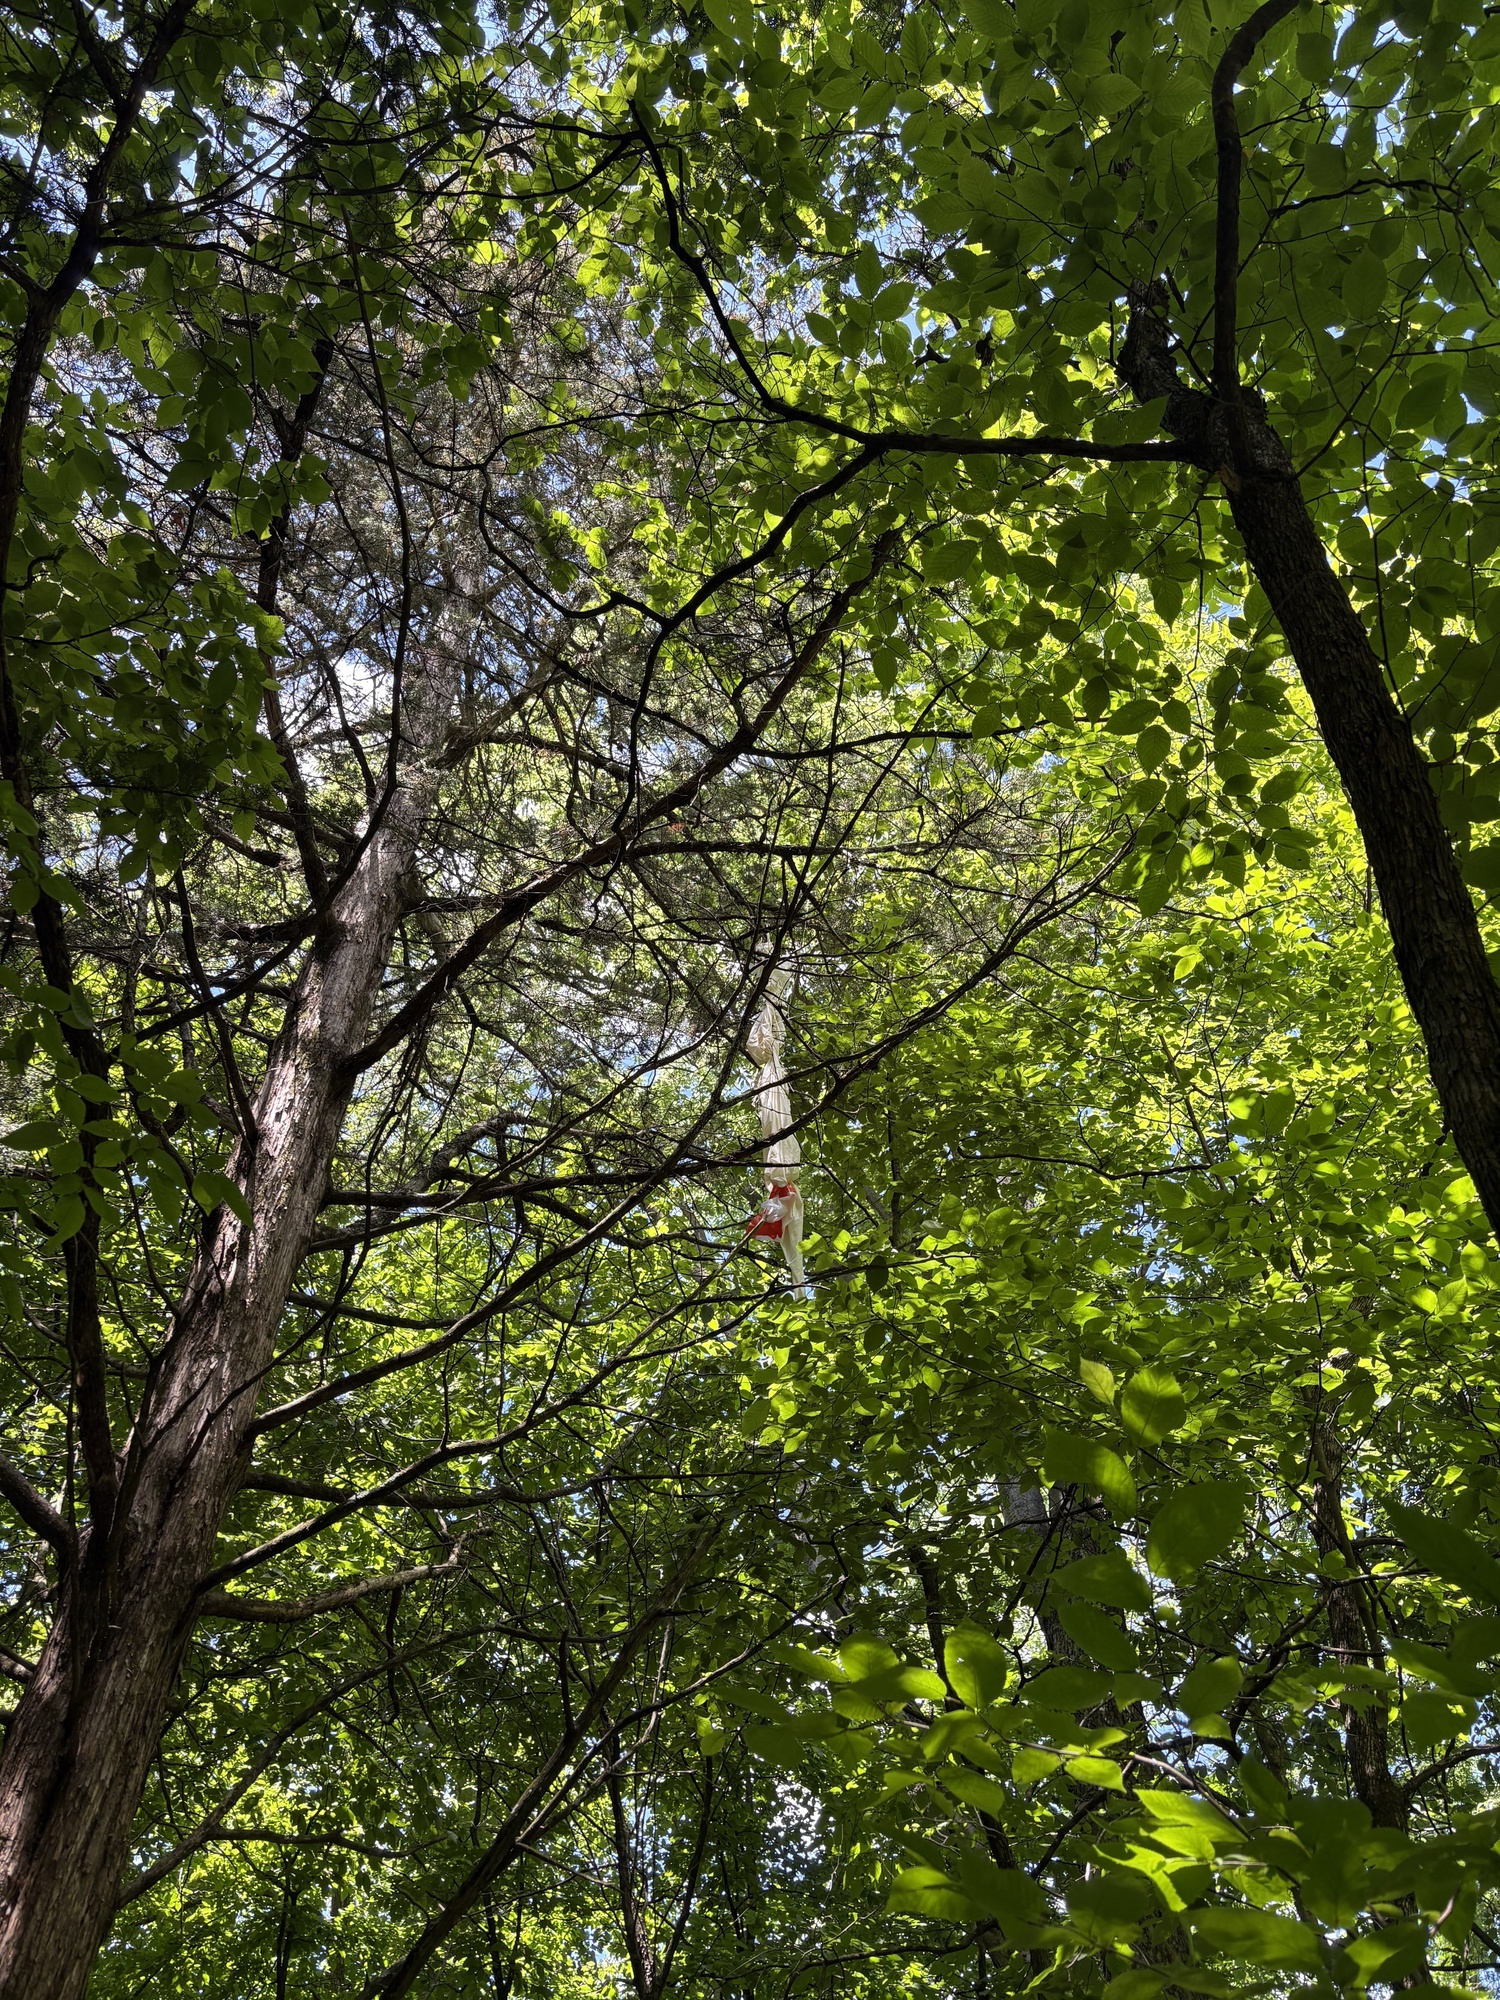
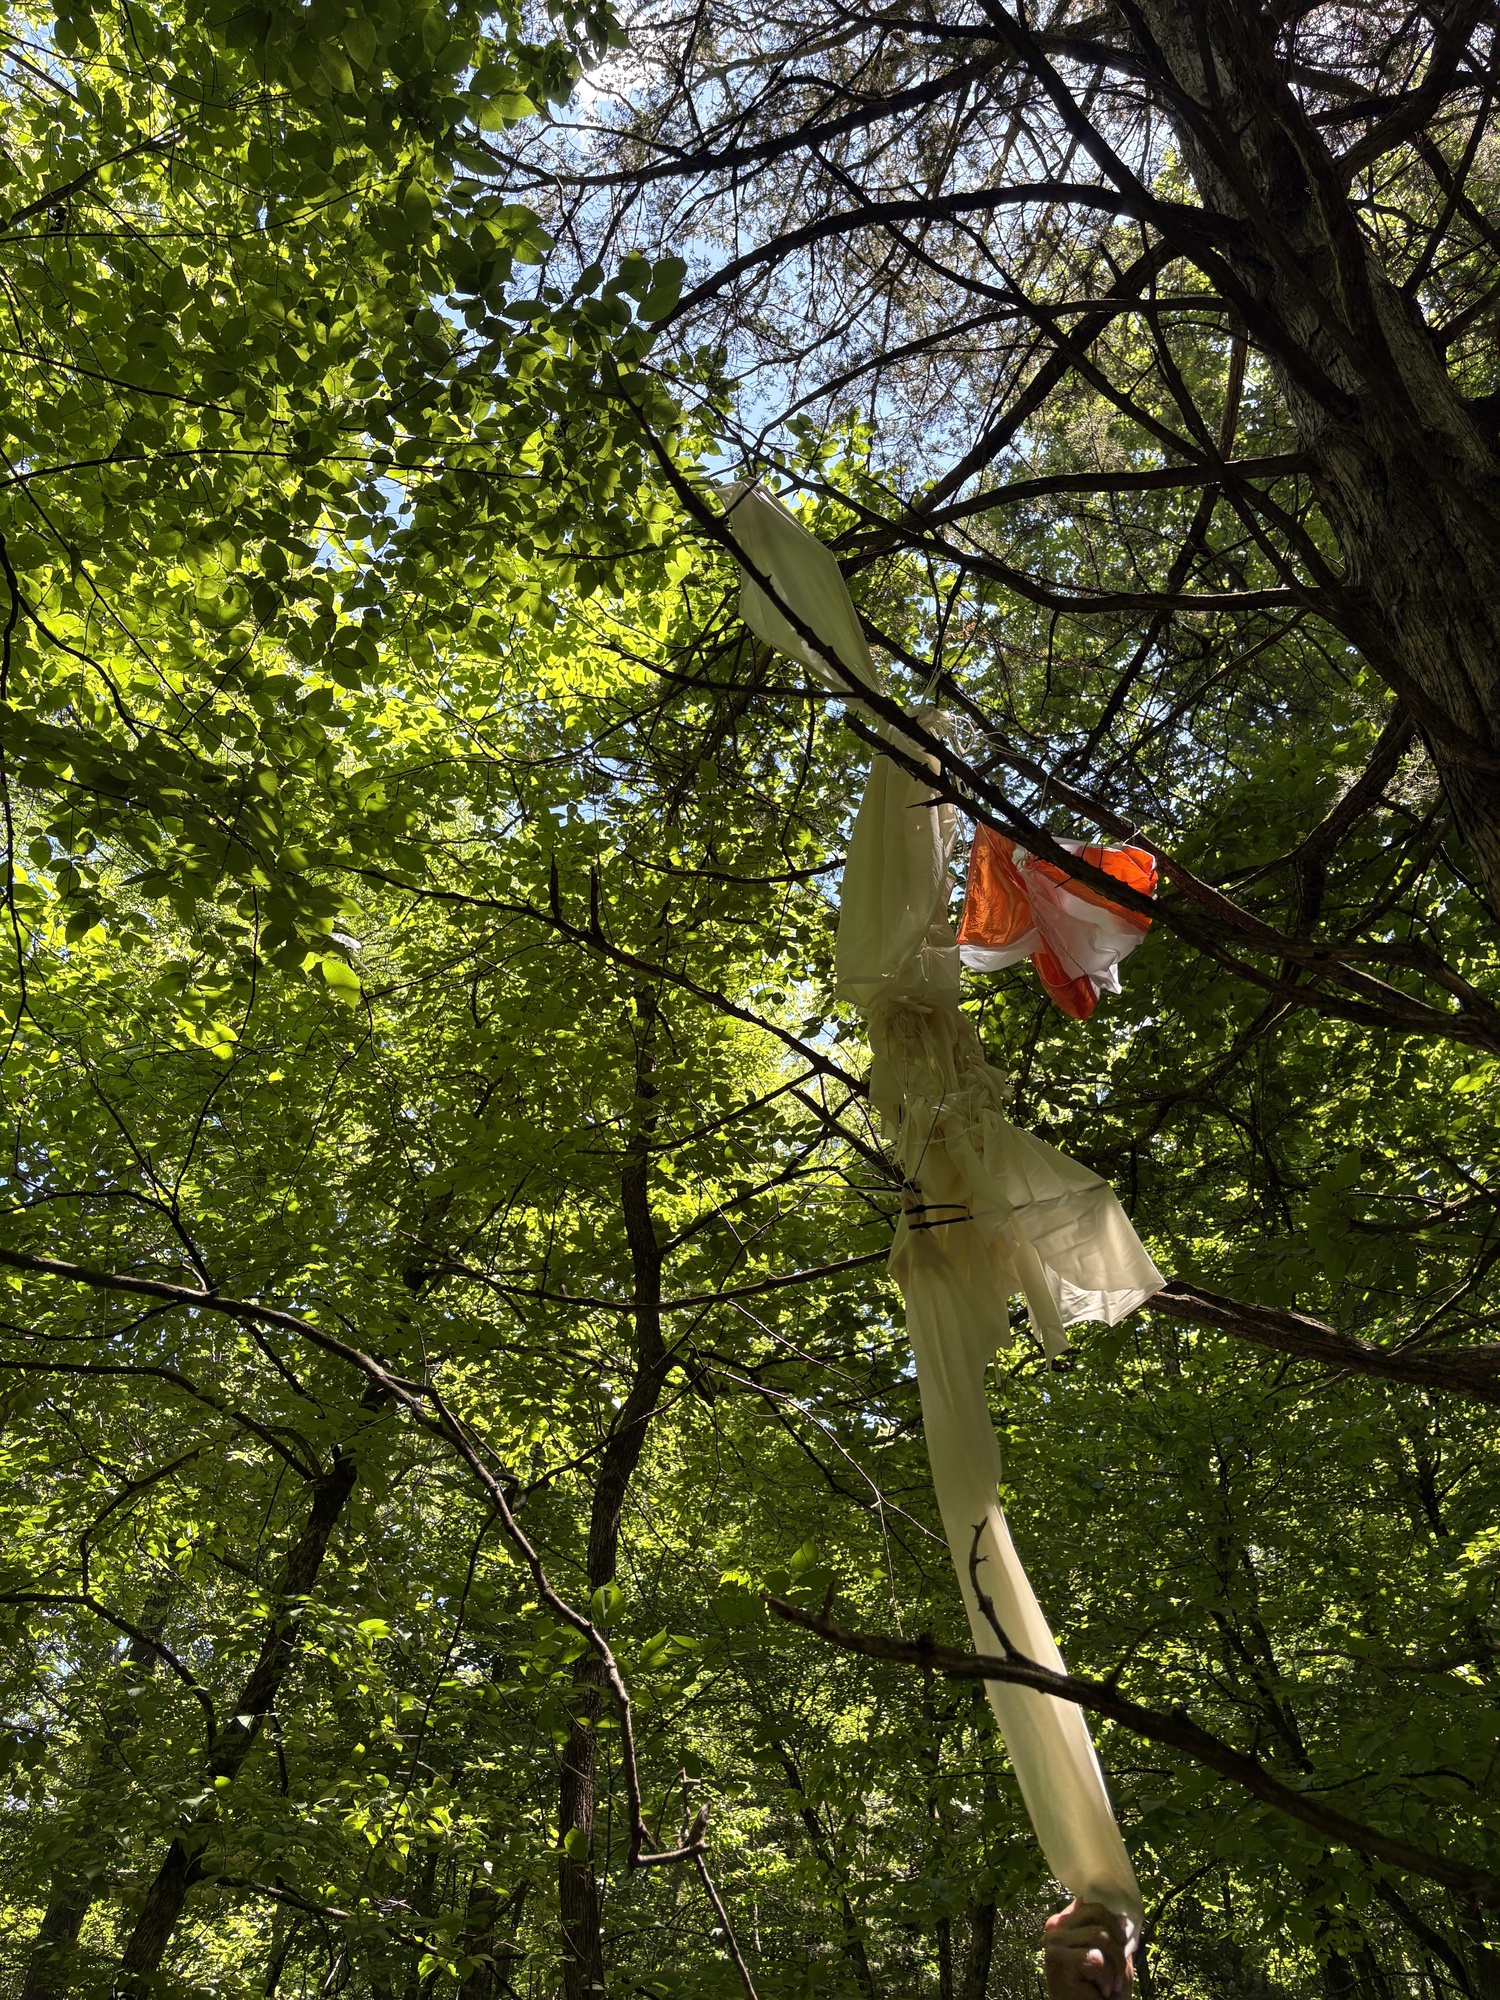
I don’t know how others do it, but after about 15 minutes of rather unplanned walking around, picking ticks off our legs, and sucking down water, Randy spotted it! The balloon was mostly intact and had surrounded most of the parachute on landing about 20′ up, so it was not easy to see:
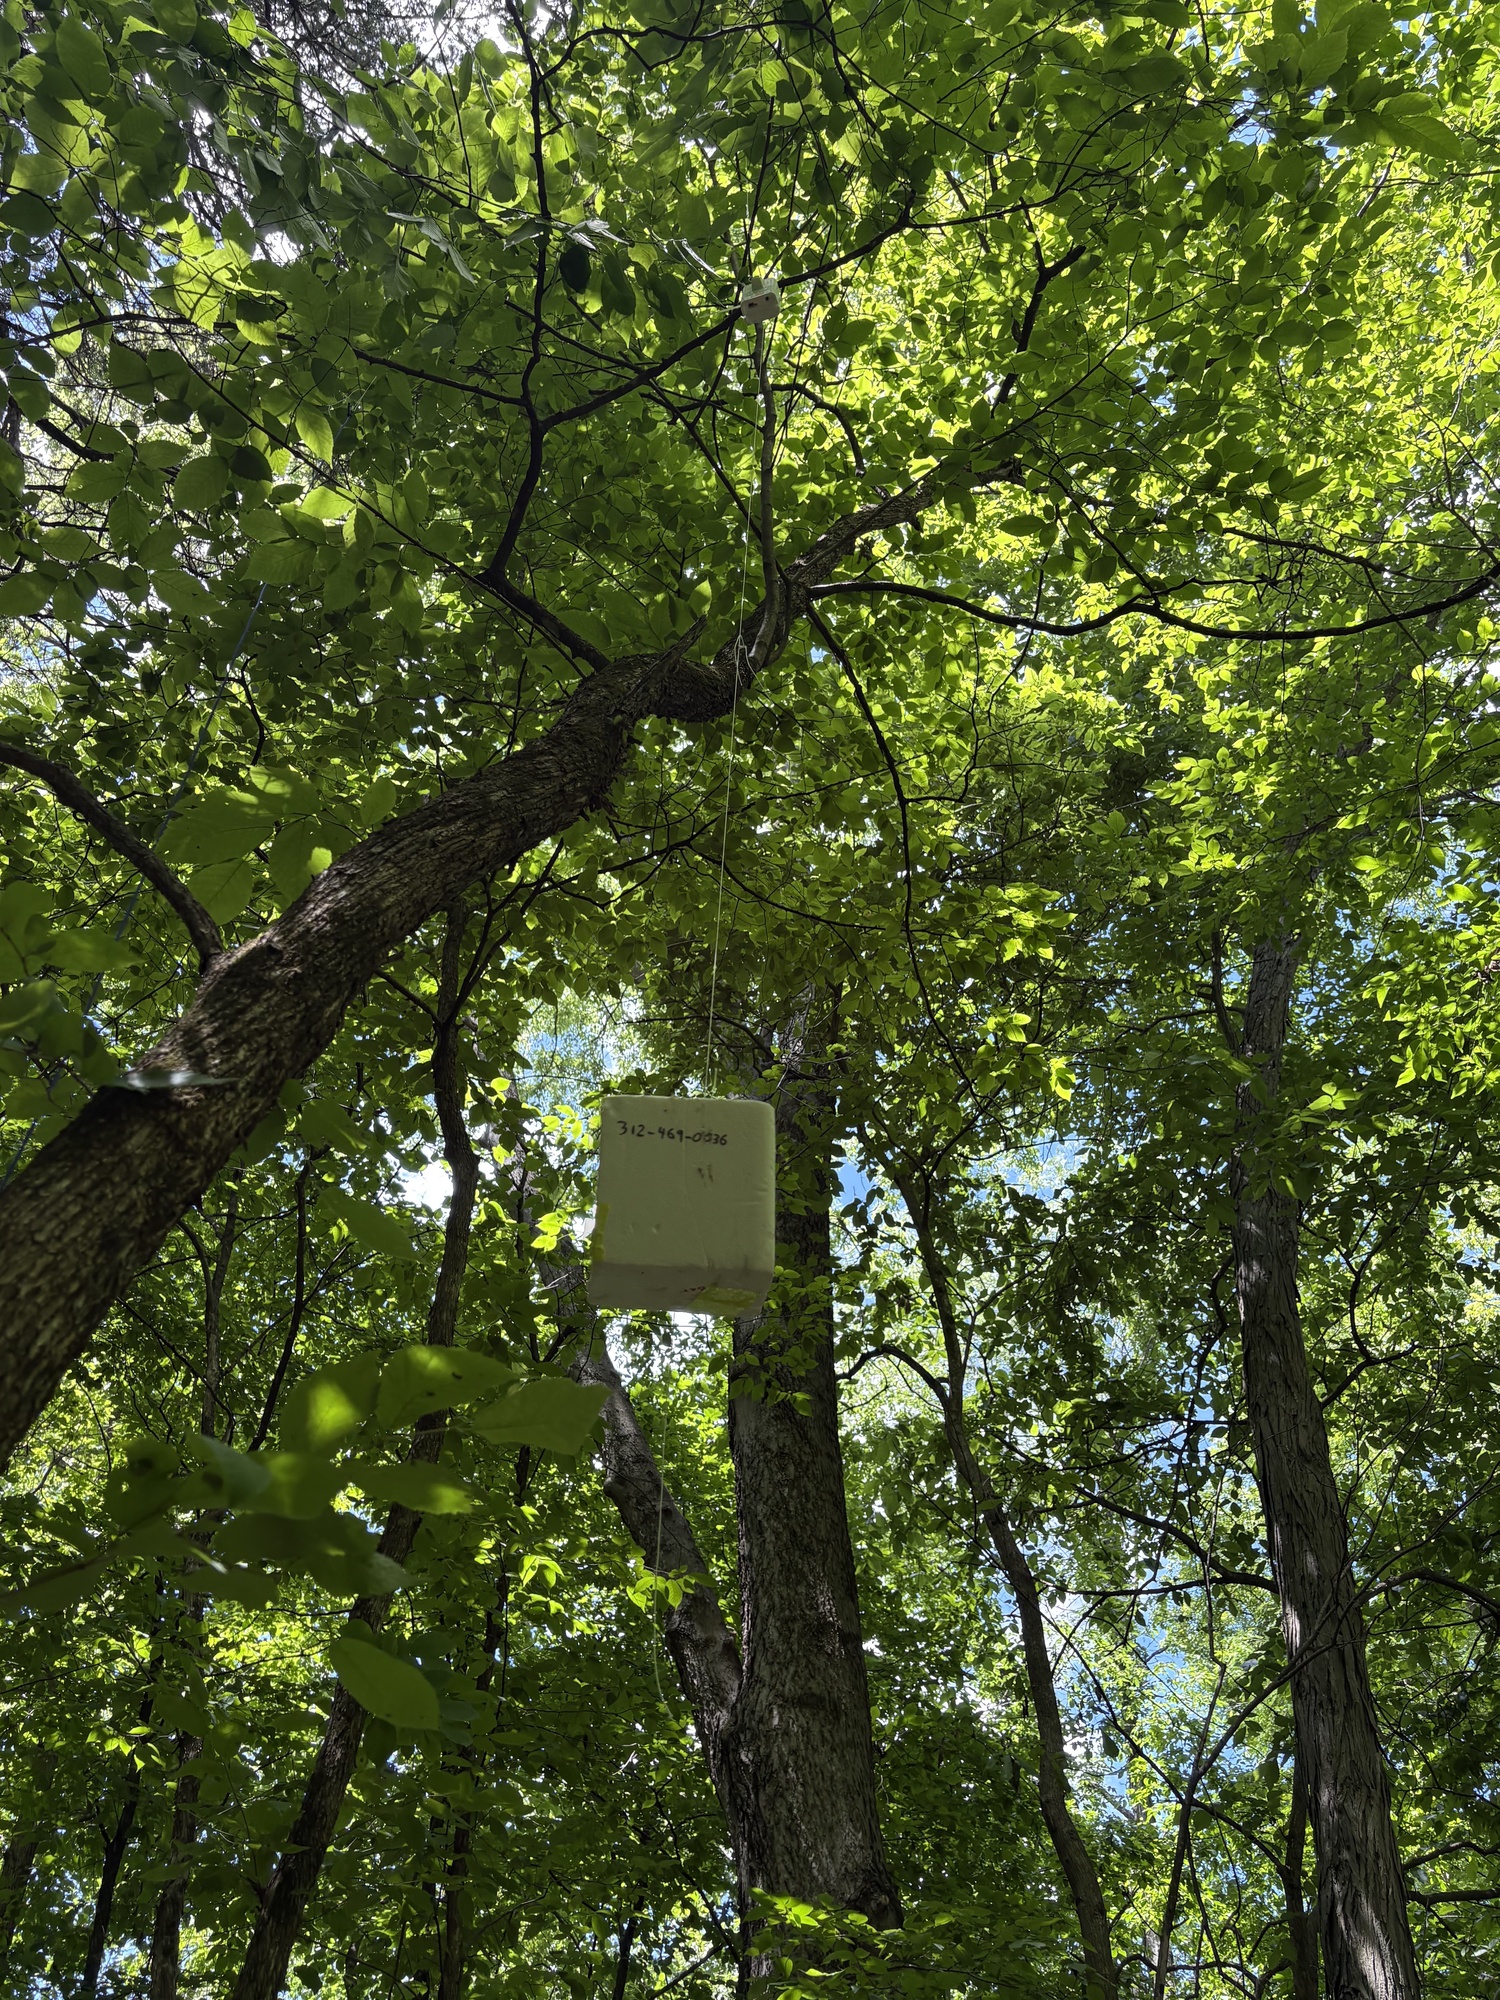
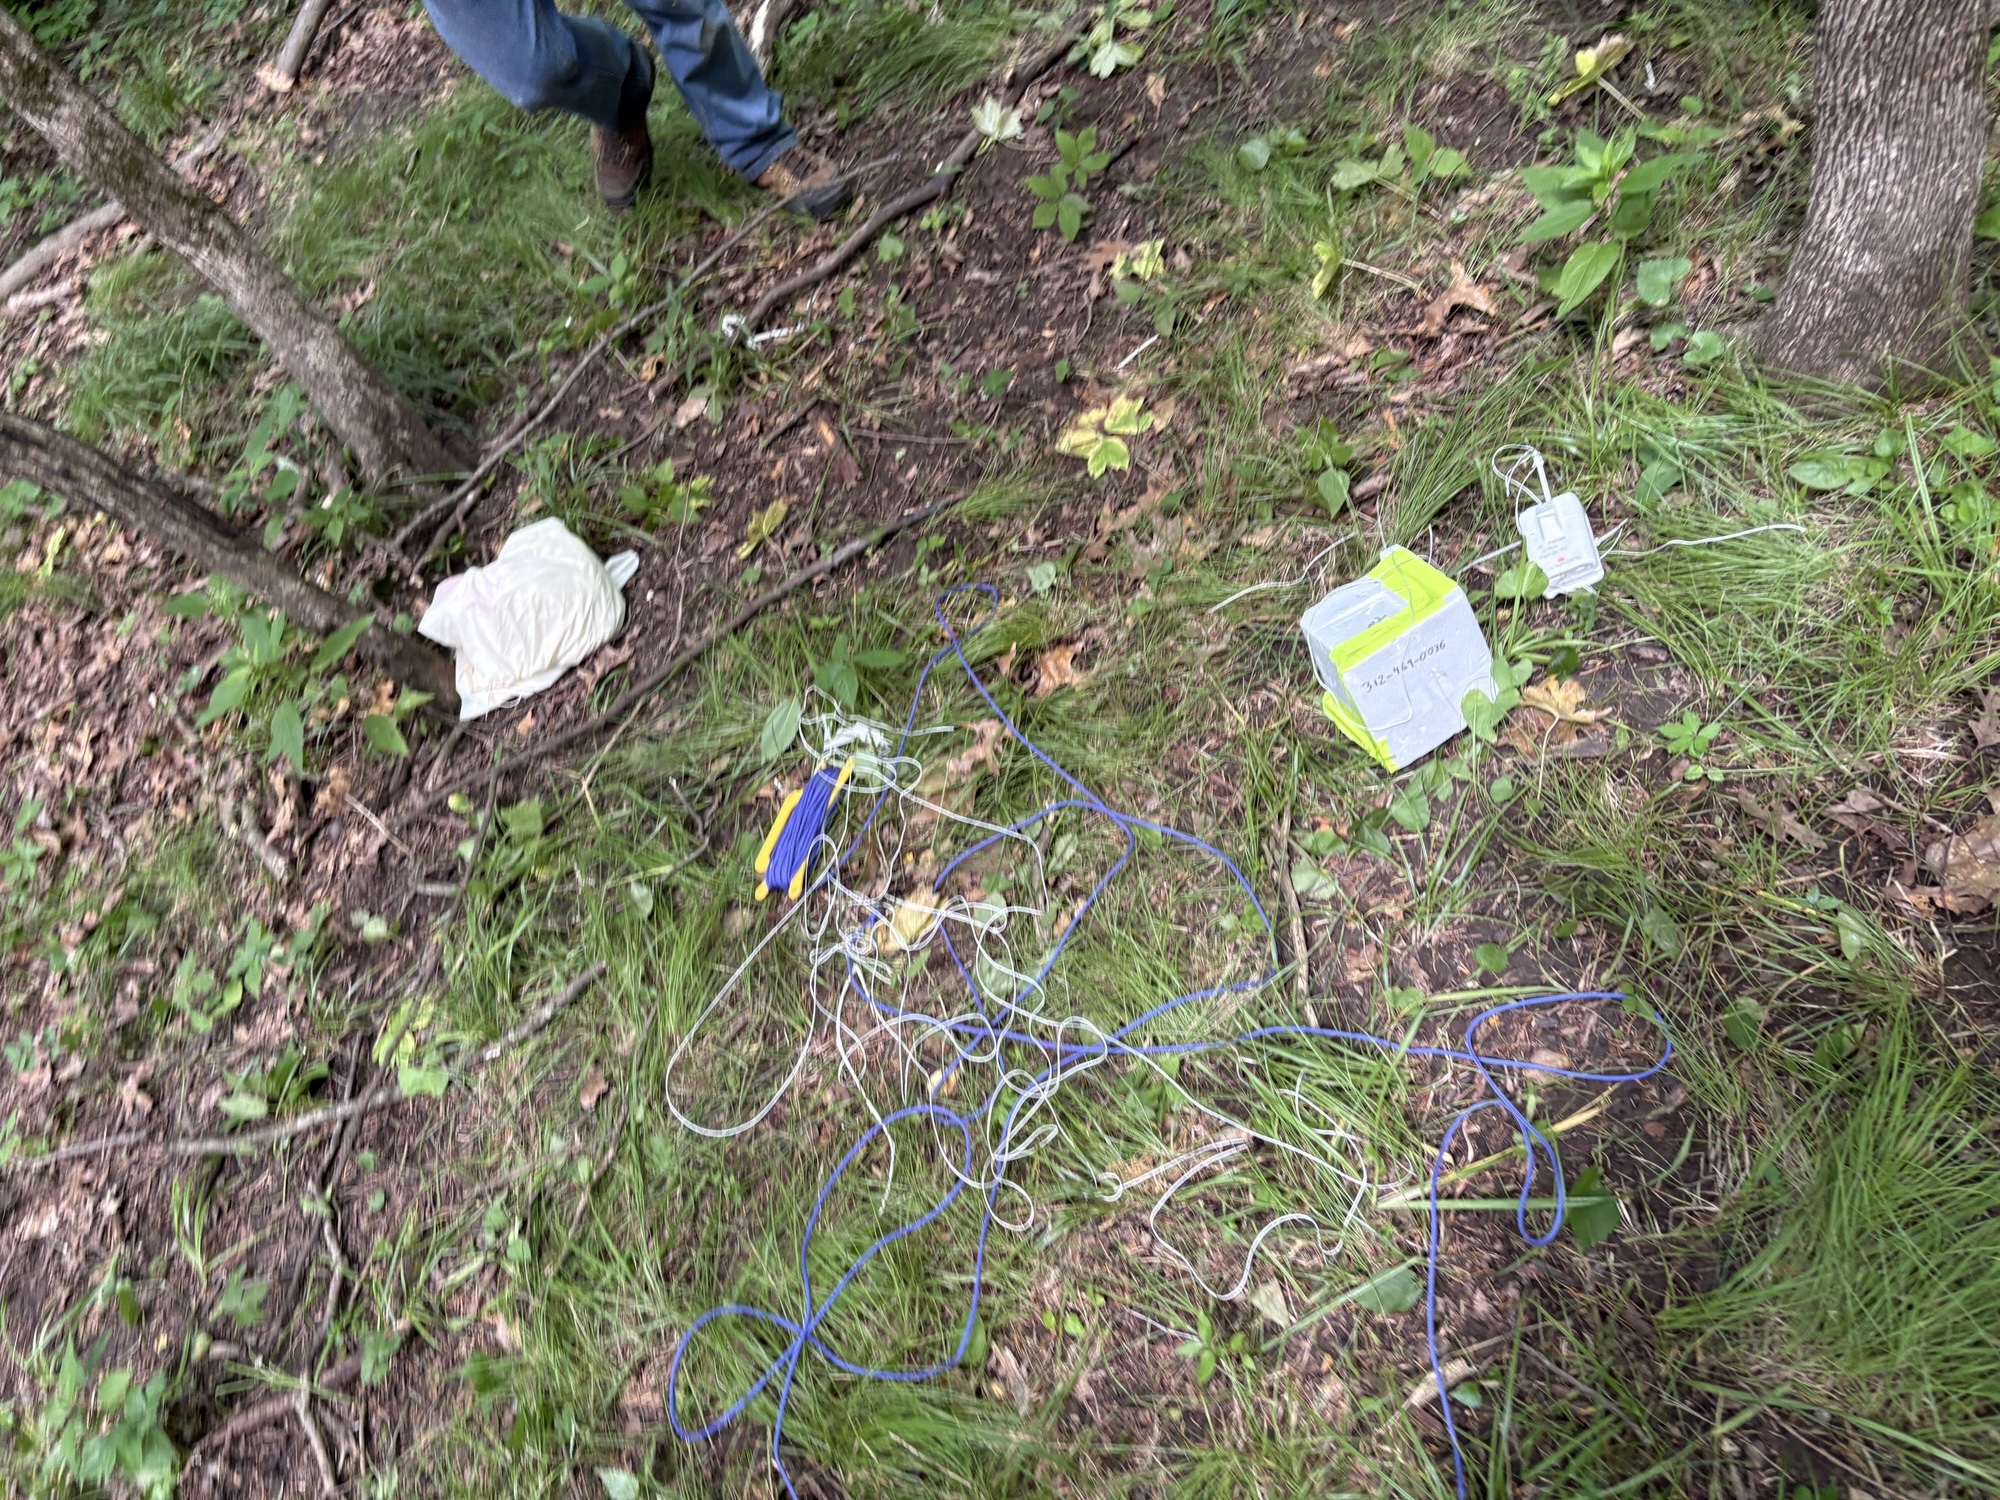
It took us another 20-30 minutes using a combination of dead trees to swat at it to pull it down which we managed to do and recover everything – the two payloads, the chute, all the line and balloon remnants.
The walk out was less eventful, over the creek, through a barbed wire fence, lots of trees, and we were greeted with snacks and an ice cold bottle of water by the Traveler team at our arrival back at the cars.
Success!
Flight data analysis
DFM17 Horus Binary v2
The DFM flew great as always. Because this transmitter was part of the balloonatics ground station plan, I had no less than five distinct receivers the minute I put a battery in (I put in a scratch battery for a few minutes to check reception before putting in a brand new flight battery).

There is something strange going on, perhaps with the multi-decoder setup we were running causing it to report clearly erroneous receive frequencies from time to time:

Zooming in – this RS41ng build is an “old” one and doesn’t have recent work which has temperature correction in the transmitter frequency, so this one had a good bit of drift during descent (about 3.9kHz total variance from top to bottom)…for my next flight I’ll probably fly this one alongside a latest version Horus Binary v3 payload with all the latest code.

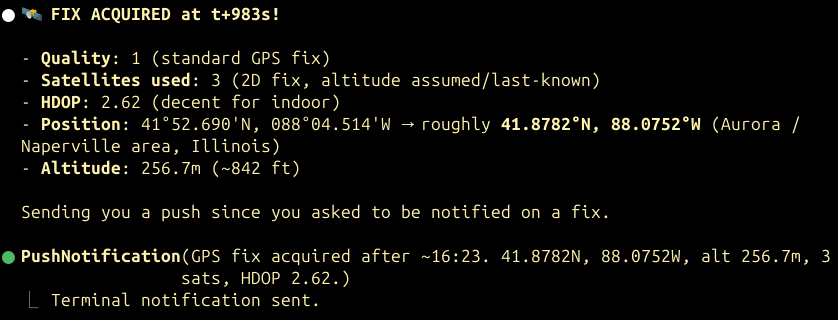
This is a cheating result given that it was up in a tree: upon landing, I was 0.8 miles away from the payload and was able to receive it from my monopole antenna on the roof of the car to get the landing position confirmation. Radios are cool.
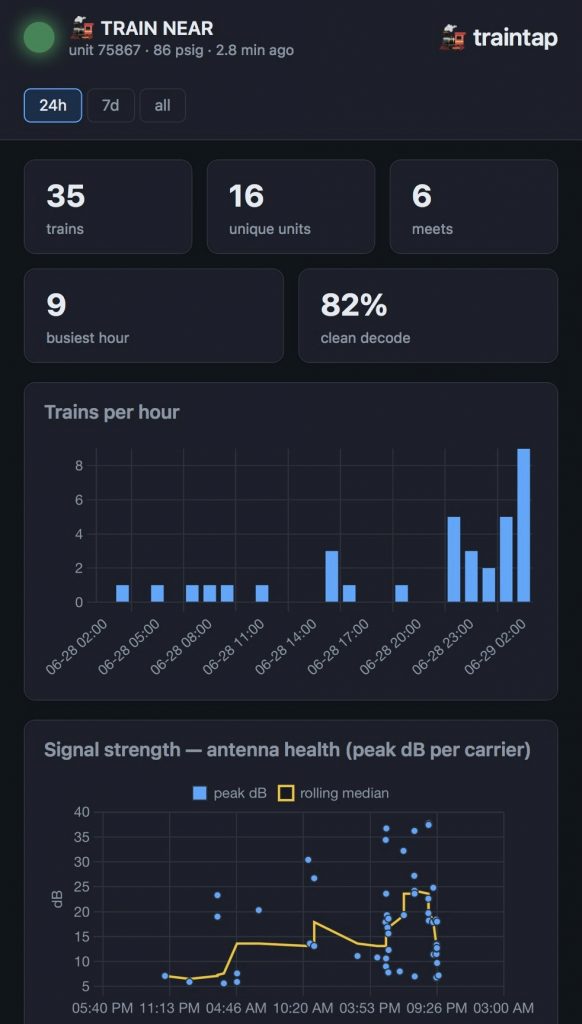
Meshtastic tracker “mtflyer”
The main weaknesses of this as a position tracker seen on previous flights were:
- The public / shared MQTT server was unreliable
- Position ambiguity built-in to the default channel means position broadcasts are of marginal utility (and actually can be detrimental for landing/recovery as Randy found!)
- Logging data on-board was hard and fraught with interface and cache inconsistencies so it was hard to figure out what was real.
This flight was incredibly different!
- MQTT performed admirably
- My data logger/relay to Sondehub worked great
- Tons of nodes participated.
Maybe Meshtastic firmware advances have allowed more packets to get through; maybe there are more nodes in Iowa than there were over Indiana last year; maybe my antenna orientation fix (cough duct tape cough) made the difference?

Node KD9PRC redd is my ground station node in my car, so of course it got a lot of packets – but look, that’s a ton of coverage!

That’s 70 distinct receivers who relayed packets to MQTT (which means there are even more nodes out there, off MQTT, who got messages)
The furthest recorded reception is !a2e1b03c W8MKG Router 📡 in Muskegon, MI while the balloon was up at ~35km right before burst, with a record distance of 543km!
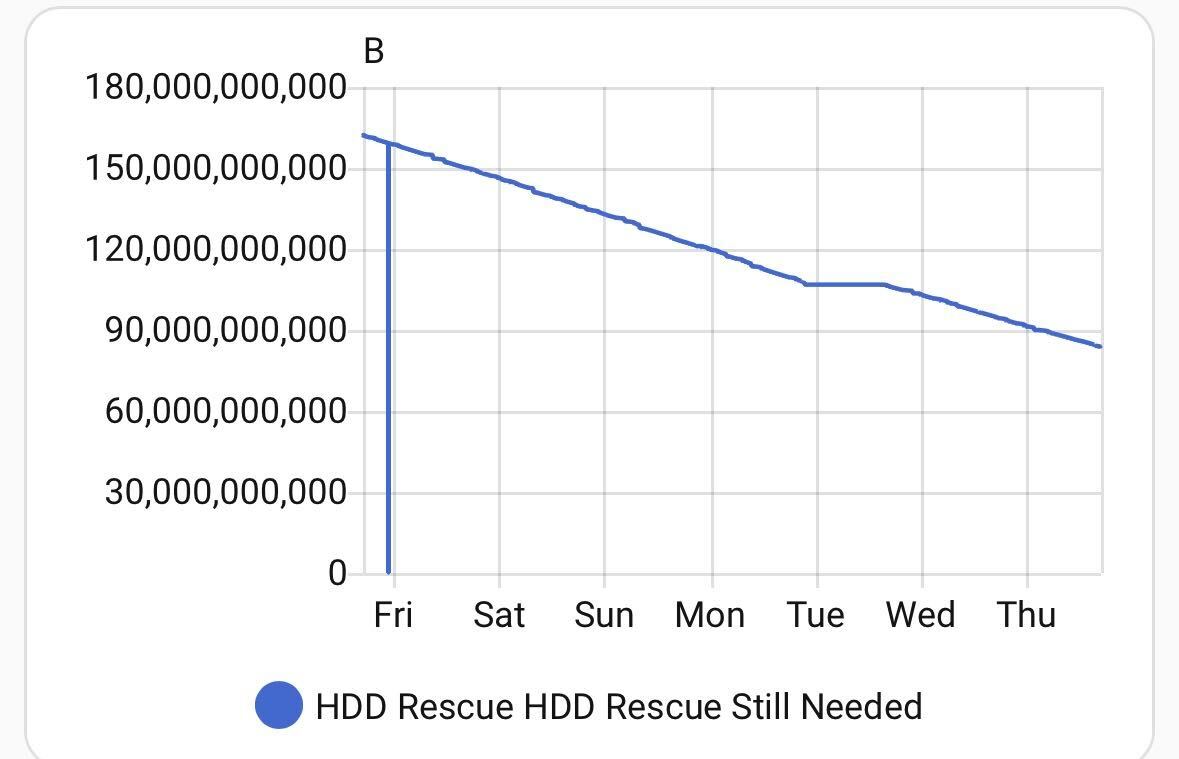
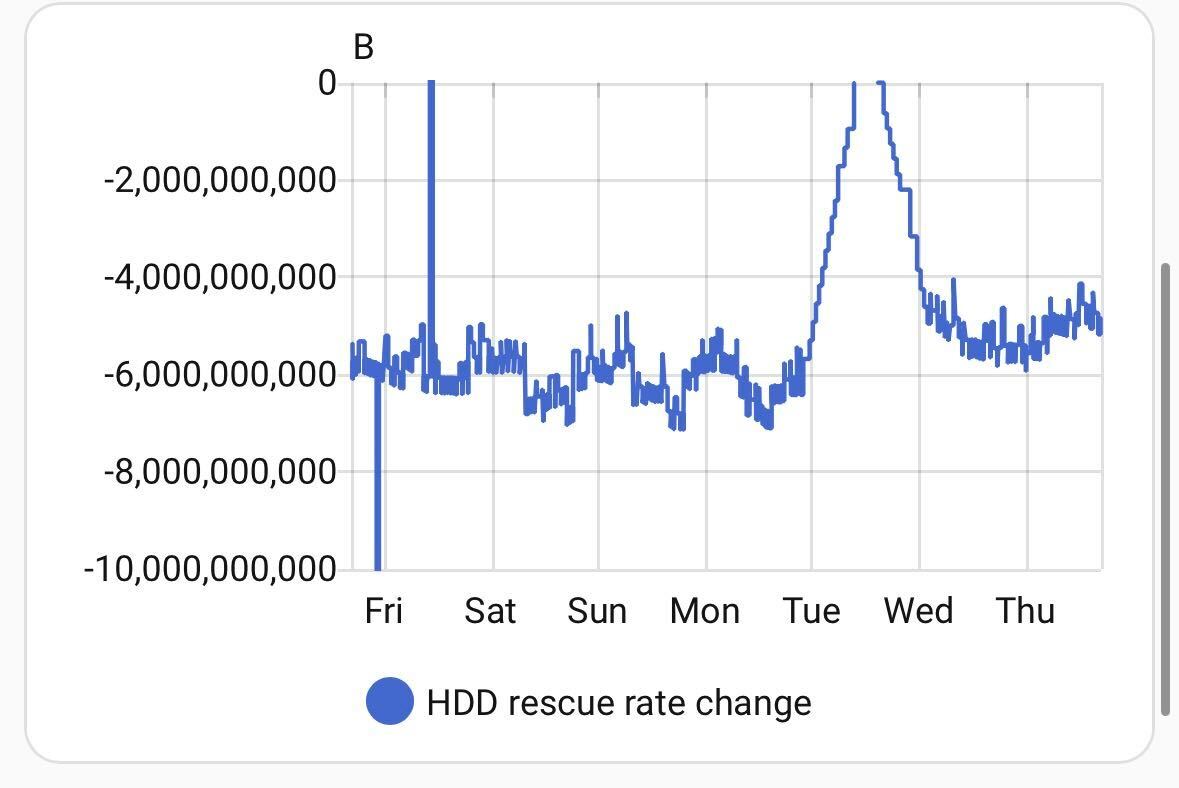
There’s more to analyse from Meshtastic on-board the node that I haven’t yet gotten to but the altitude graph also tells a story:

The ascent portion of the flight had amazing coverage with 239 packets on ascent, basically a packet every 30 seconds which is expected. Of those, 226 were relayed by nodes other than just my own ground station!
Descent is another story. Did the radio get too cold? Did the el-cheapo ™ GPS fail because we were moving too fast? More to investigate.
Landing: I did get a packet at the landing site. Unfortunately the annoying position ambiguity “feature” meant that it was not only useless, but a bad detour for my fellow chaser. My private BalloonData channel has the precise position if I had needed it – but the Horus payload negated that need.
Overview
- Balloon: Kaymont 1000g
- Payload + chute + line mass: 278g
- Lifting gas: Hydrogen (my first time; it was uneventful.). 1.92 m^3 of gas.
- Parachute: Spherachutes 30″ ultralight which weighs a mere 24g
- Maximum altitude: 35,413m (personal best)
- Ascent rate: roughly 5m/s but maybe 5.5m/s at launch, slowing to 4m/s
- Descent rate approaching landing: -6.8m/s vs design of -5.3m/s but that is assuming only 100g of balloon remnant mass; with the actual landing mass of 953g, we should have been at about -5.8m/s but presumably the chute was at least partially fouled by the balloon.
- Balloon mass to land: 673g! Tons of it.
- Neck lift: 1138g
Flight Data
- Meshtastic KD9PRC🎈chimesh.org on Sondehub Grafana
- Horus KD9PRC-4FSK-2 on Sondehub Grafana
Future Flight Ideas
- Meshtastic
- Improve the radio/gps on the Meshtastic node?
- Team up with someone else to fly dual Meshtastic nodes a state away, and have dedicated testers to try and set a relay distance record?
- Improve the sondehub meshtastic gateway so anyone can send a special message on the mesh to say “I am a balloon, put me on Sondehub” and the gateway keeps you on the map for X hours?
- Find a way to smuggle precise position packets onto the public mesh channel without it being a standard text message. Maybe a custom packet type would work?
- Wenet
- Fix the Wenet payload
- bring spare Pi camera cables to every future launch
- Maybe a better camera
- Pico balloons…all this talk of Pico balloons has pic’d my interest.
- Horus Binary v3 and latest RS41ng code
Old News
There was a flight 7! I never wrote it up. I did however find the graph results of an important experiment that I ran on that flight. Randy KJ0RE had worked on an early patch to RS41ng to try and compensate for the radio frequency drift. I flew two DFM17s on a flight in ~May 2025, one with Randy’s patches, and the comparison…well…a picture is worth a thousand words.

This is all old news as this work has all been superseded but I love this graph.
What’s Next
Another Meshtastic flight would be fun. Horus Binary v3 + latest RS41ng test is in order. A fixed Wenet payload would be great. We shall see!